Industry News

Heat Shrinkable Straight Through Joint for XLPE Cable

2023-06-06
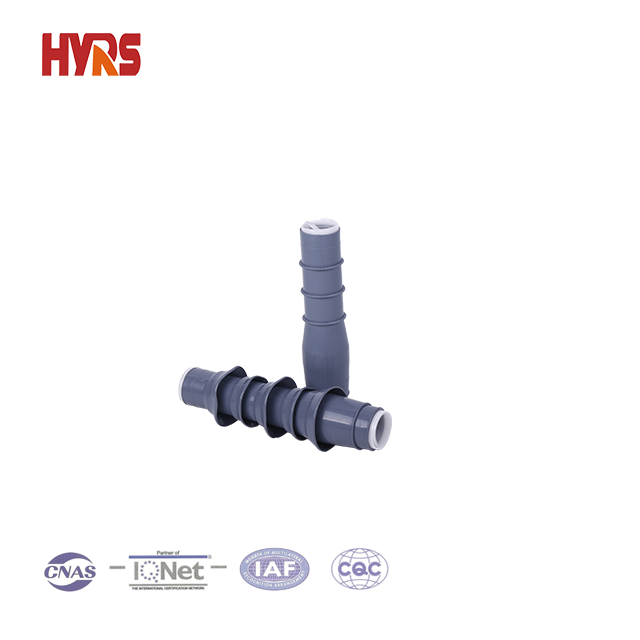
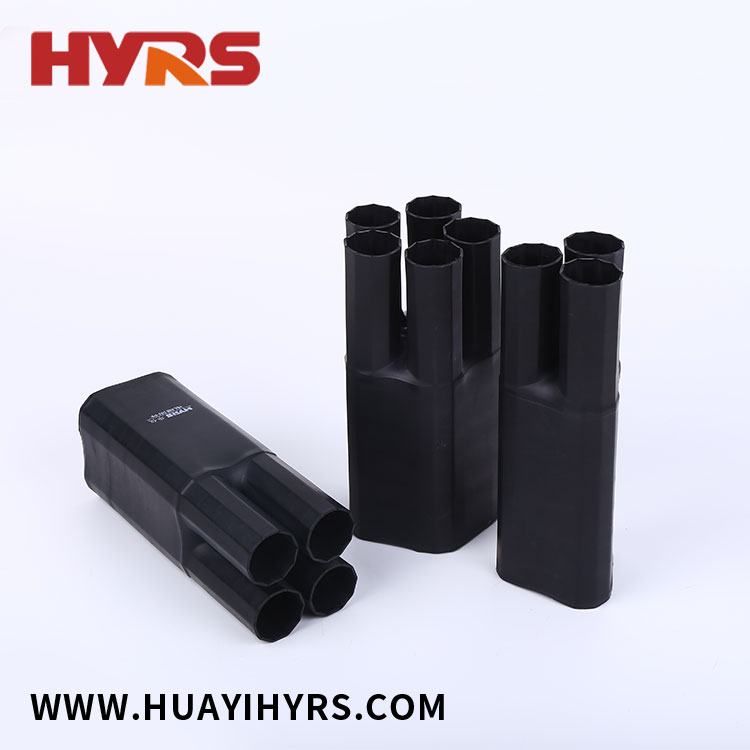
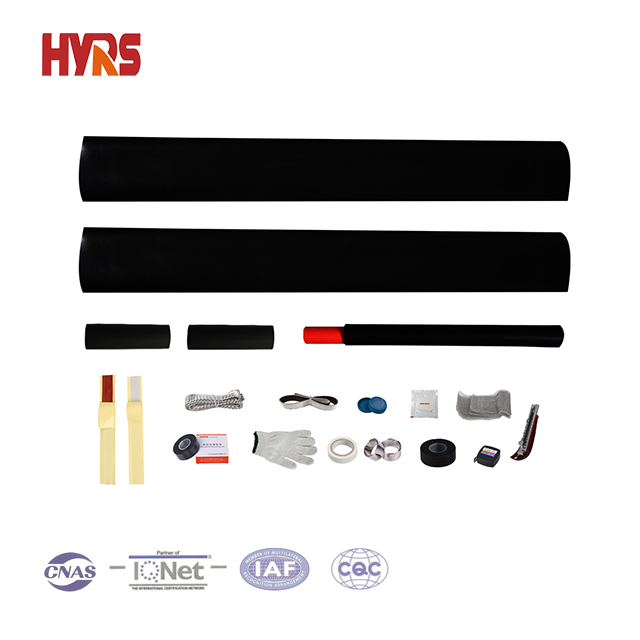
Heat Shrinkable Straight Through Joint for XLPE Cable set waterproof, stress control, shielding, insulation in one, with good electrical and mechanical properties, Cable Termination Kit can be used ina variety of harsh environmental conditions for a long time, and has the advantages of light weight and easy installation. The intermediate joints of 1KV, 10KV, 35KV heat shrinkable cable accessories are widely used in electric power, petrochemical, metallurgy, railway port and construction fields.

1. Strip the cable. Strip off the outer sheath of the required size according to the measurement, tie the binding wire on the steel armor 50mm away from the fracture, and strip off the other steel armor. Retain 20mm inner sheath, strip and remove the rest of the filler.

2. Peel off the core and the shielding layer and the semi-conductive layer. Square the core wire to size and cut it at the midpoint. Measure 300mm from the center point to the core wires at both ends, strip off the remaining copper shielding layer, reserve 20mm semi-conductive layer from the copper shielding layer fracture, and strip and remove the semi-conductive material on the insulator surface of the core wires.

3. Fixed stress pipe and tube. The stress tubes are inserted into each phase core wire on both sides, and the copper shielding layer is lapped with 20mm, and fixed by heating. The longer end of the stripped cable is put into the sheath end, sealing sleeve and protecting sleeve part, each core is put into the insulation pipe (2), half pipe (2) and copper net, and the shorter end of the stripped cable is put into the sheath end and sealing sleeve.

4. Pressure connecting Ferrule. Measure the length of 1/2 connecting pipe at the end of the core wire and add 5mm to remove the insulator. Take 35mm from the fracture of the insulator, cut it into a cone with a length of 30mm, and leave 5mm half-guide layer. Crimp the connecting pipe according to the basic operation process.

5. Wrap the semi-conductive tape, wrap the filler tape, and fix the inner and outer insulating tubes. A semi-conductive strip is wrapped on the connecting pipe and is bonded with both ends of the semi-conductive layer. Wrap packing tape between the cones at both ends of the connecting pipe with a thickness of no less than 3mm. The cones should be filled. The inner insulation tube is placed between the two stress tubes and is heated from the middle to the two ends. Then the outer insulation tube sleeve on the central position of the inner insulation tube, heating fixed.

6. Fix the semi-conductive tube, install the shielding net and ground wire. The two half conduits are placed on the insulated pipe, and the two ends are bonded to the copper shielding layer of 50mm. Then the two ends are heated and fixed successively from the middle. Use shielding net to connect both ends of the copper shielding layer, the end of the binding and welding. Wrap the ground wire and tie the core wire, bind and weld the two ends tightly on the steel armor, and weld firmly on the shielding layer on both sides.

7. Secure the jacket tube. Install the ends of the protective sleeve and the protective sleeve at both ends, and bind the ends to the steel armor. Put the sealing sleeve on the end of the sheath, each end of the lap tube and cable outer sheath 100mm, heating fixed.

Heat Shrinkable Straight Through Joint

We use cookies to offer you a better browsing experience, analyze site traffic and personalize content. By using this site, you agree to our use of cookies. Privacy Policy
Reject Accept